 how-to
How to Stop Bed Bugs Spreading: 7 Steps That Work
Table of Contents
- Why Bed Bugs Spread So Quickly (And What You're Doing Wrong)
- Step 1: Confirm the Signs of Bed Bug Infestation Before You Act
- Step 2: Contain the Infestation to One Room
- Step 3: How to Isolate Infested Furniture Immediately
- Step 4: Laundry and Heat Treatment Protocols That Kill Hitchhikers
- Step 5: Vacuuming, Sealing Cracks, and Removing Clutter
- Step 6: How to Prepare for Professional Bed Bug Treatment
- Step 7: Your Post-Treatment Maintenance Schedule
- Frequently Asked Questions
Last Updated: September 8, 2026
Finding a single bed bug is stressful, but the real crisis begins when they spread. Stopping bed bugs from spreading requires a specific sequence of containment, heat treatment, and sanitation steps within the first 48 hours of discovery. This guide walks you through a protocol for stopping bed bugs from spreading using seven steps.
The most common mistake is reacting with scattered, panicked actions that scatter the infestation further. Bed bugs are expert hitchhikers, and every trip from an infested room to a clean one can transport live bugs. Containment comes before cleaning, and the order of operations matters more than any single tactic.
Why Bed Bugs Spread So Quickly (And What You're Doing Wrong)
Bed bugs spread rapidly because they are tiny, nocturnal, and remarkably good at hiding. Adults measure roughly the size of an apple seed, which lets them slip into seams, cracks, and crevices you would never think to check. A female can lay multiple eggs per day, and those eggs hatch into nymphs that begin feeding within weeks.
According to guidance from the Government of Canada's pest management resources, bed bugs do not transmit disease, but their bites cause discomfort and their presence creates significant psychological distress. The health authority emphasizes that early intervention is critical, because infestations grow exponentially rather than linearly.
Most people wash one load of sheets, spray a single product, and assume the problem is handled. Bed bugs hide in baseboards, electrical faceplates, bed frames, and upholstered furniture, not just the mattress. Treating only the bed leaves the majority of the population untouched.
Step 1: Confirm the Signs of Bed Bug Infestation Before You Act
Before you take any action, confirm you are dealing with bed bugs rather than fleas, carpet beetles, or another pest. Treating the wrong insect wastes days and lets the real problem grow unchecked. Common signs include small rust-colored stains on sheets, tiny dark spots of excrement along mattress seams, and shed skins near hiding spots.
Live bugs themselves are the most reliable indicator. Check the seams of your mattress, the folds of your box spring, and the crevices of your bed frame with a flashlight. Also inspect behind headboards, inside electrical faceplates, and along baseboards, since bed bugs prefer rough surfaces close to where people sleep.
Step 2: Contain the Infestation to One Room
Once you have confirmed the signs of bed bug infestation, your immediate priority is containing the problem to a single room. Close the door to the infested room and keep it closed whenever possible, since door gaps are a primary route for bugs to travel between rooms.
The 48-Hour Containment Protocol
Within the first 48 hours of discovery, your goal is to create a 'clean zone' outside the infested room. Identify the single most-used exit path from the infested room, likely the door to the hallway. Place a sticky double-sided carpet tape strip along the threshold of that door, on the hallway side. This passive trap catches any bug attempting to walk out. Check and replace this tape daily.
Containment is emotionally difficult; daily items feel 'contaminated.' To manage this stress, create a 'transition station' just outside the infested room, a small, clean area with a plastic bin, garbage bags, and a change of clothes. When leaving the room, change into clean clothes at the station, placing 'inside' clothes directly into a sealed bag for later laundering.
If You Live in an Apartment or Condo
In multi-unit buildings, bed bugs can travel through wall voids, along plumbing lines, and under baseboards into neighboring units. In most Canadian provinces, landlords are legally responsible for providing a pest-free environment. Notify your landlord or property manager in writing immediately, not after you have tried to handle it yourself. Send a brief, factual email or letter stating that you have discovered bed bugs in your unit and request a professional inspection. Keep a copy of this correspondence for your records.
When contacting your landlord, do not be accusatory. State the facts: you found a live bed bug and have contained it to one room. Ask for a professional inspection of your unit and a plan for inspecting adjacent units. If unresponsive, check provincial tenancy laws; in British Columbia, the Residential Tenancy Branch provides dispute resolution for maintenance issues.
Step 3: How to Isolate Infested Furniture Immediately
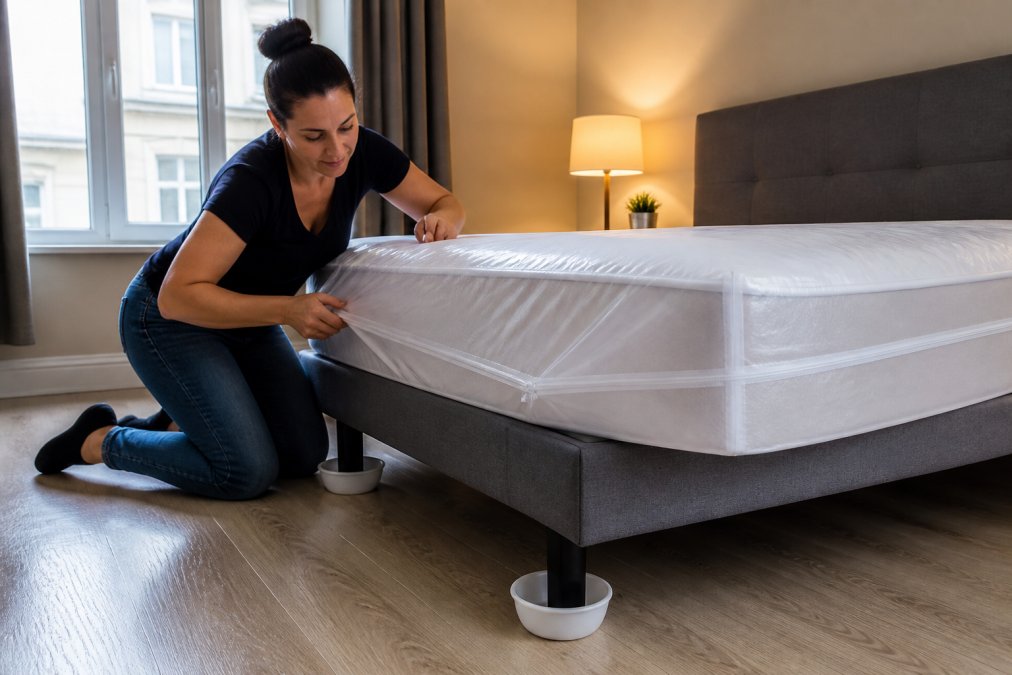
Isolating infested furniture is the most effective way to stop bed bugs spreading from your bed, where the majority of activity occurs. Your bed frame and mattress need to be physically isolated so bugs cannot reach you or travel to other parts of the room.
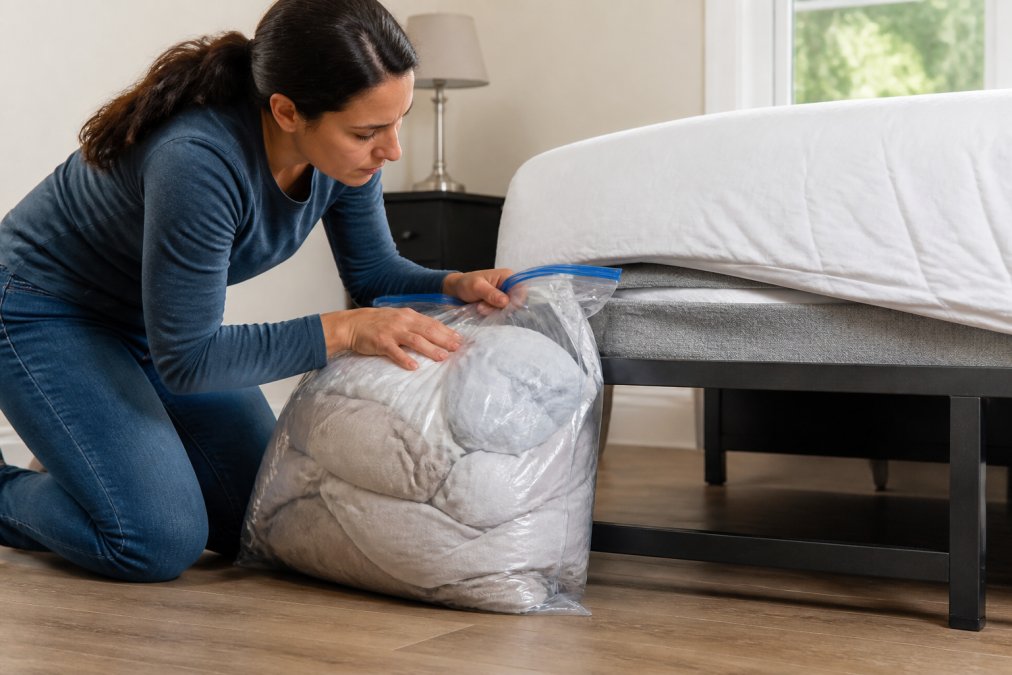
Pull the bed at least 15 centimeters away from all walls and nightstands. Remove any bedding and place it directly into sealed bags for laundering. Install interceptor cups under each leg of the bed frame to trap bed bugs as they try to climb up to reach you and prevent them from climbing down and walking away.
Step 4: Laundry and Heat Treatment Protocols That Kill Hitchhikers
Heat is one of the most reliable weapons against bed bugs at every life stage. Bed bugs, their eggs, and their nymphs all die when exposed to sustained temperatures above 45 degrees Celsius. Your dryer can deliver this heat, making it the most effective tool in your home for treating clothing and bedding.
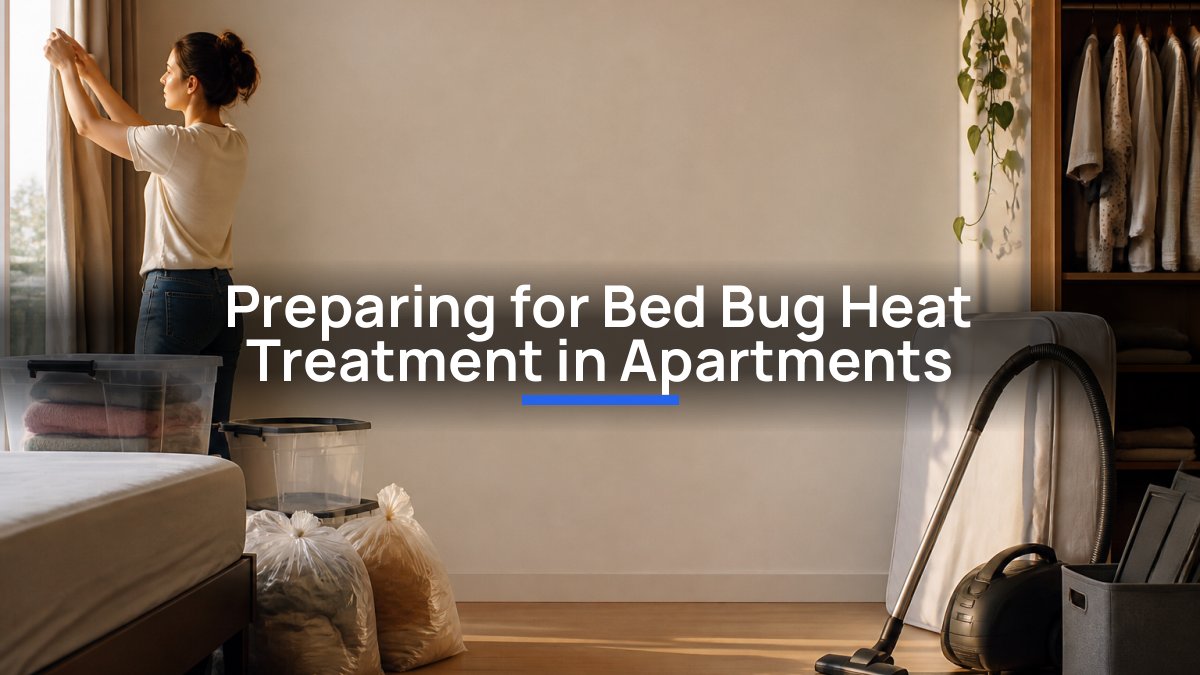
Gather all fabric items from the infested room and place them directly into sealed bags to prevent bugs from escaping during transport. Wash items on the hottest setting the fabric allows, then dry them on high heat for at least 30 minutes. The dryer heat, not the wash cycle, kills the bed bugs and their eggs.
For items that cannot be laundered, such as shoes, backpacks, or delicate fabrics, consider a portable heat chamber or professional heat treatment. Many providers offer whole-room heat treatments that raise ambient temperatures high enough to penetrate furniture and walls.
Step 5: Vacuuming, Sealing Cracks, and Removing Clutter
Once you have contained the infestation and treated your laundry, begin the sanitation phase. Thorough vacuuming removes live bugs, eggs, and debris, but it only works if you do it correctly and dispose of the contents properly. Use a vacuum with a crevice tool to reach into seams, cracks, and along baseboards.
Focus vacuuming on mattress seams, box spring folds, bed frame joints, baseboards, and the edges of carpet. After each session, immediately seal the vacuum bag or empty the canister into a sealed plastic bag and dispose of it outside your home.
Sealing cracks and crevices is the final structural step. Use caulk to seal gaps along baseboards and around pipes, and use a sealant around electrical faceplates after turning off power to those circuits. This reduces the routes bed bugs can use to move between rooms and makes future monitoring easier.
Step 6: How to Prepare for Professional Bed Bug Treatment
Professional treatment is the most reliable path to full elimination, but its success depends heavily on how well you prepare. Most pest control companies will provide a specific preparation checklist, and following it precisely is not optional. Proper preparation directly determines whether the treatment eliminates the residual population.
Launder all fabric items as described in Step 4, even items in rooms adjacent to the infestation. Remove clutter from floors and surfaces so the technician can access all potential hiding spots. Vacuum thoroughly and dispose of the vacuum contents in a sealed bag outside your home.
Do not apply any DIY pesticides or treatments in the days before professional treatment. Residual chemicals can interfere with the professional products and make it harder for the technician to assess the infestation. Leave treated areas undisturbed for the duration specified by your provider.
Integrated pest management guidance from the Government of Canada emphasizes that chemical treatment alone is rarely sufficient. Professional providers combine insecticide application with heat, vacuuming, and monitoring to address all life stages of the bed bug, which is why preparation and follow-through matter as much as the treatment itself.
Step 7: Your Post-Treatment Maintenance Schedule
Treatment is not the finish line. A structured post-treatment maintenance schedule ensures bed bugs do not return, and it is the phase where many people let their guard down too early. Monitor actively for at least six weeks after professional treatment, since this covers the full hatching cycle of any eggs that survived.
Immediately after the technician leaves, resist the urge to deep-clean or rearrange. The residual insecticide needs to remain undisturbed. For the first two days, keep the mattress encasement on, leave interceptor cups in place, and check them morning and night. You are establishing a baseline of what 'normal' looks like.
Weeks 1-2: Daily Vigilance
This is the highest-risk period for a resurgence. Inspect your mattress seams, box spring folds, and the interceptor cups daily for live bugs, new rust-colored stains, and tiny, pale shed skins. A dead bug is a good sign, it means the treatment is working. If you find a live bug, do not panic and do not spray it with over-the-counter pesticide. Capture it in a sealed bag or container and call your pest control provider immediately. They will want to know exactly where you found it.
Weeks 3-6: The Monitoring Phase
Reduce your inspections to twice weekly, but do not stop them. This period covers the hatching cycle of any eggs that survived the initial treatment. Continue to vacuum the perimeter of the room and under the bed weekly, but do not use a steam cleaner on baseboards or carpet edges, as the moisture can affect the residual treatment. Keep clutter minimized, and do not bring any items back into the room from storage without first inspecting them. Start checking adjacent rooms, a single inspection of the room next door at week four can catch a stray bug.
After six weeks with no signs, move to a monthly inspection. Create a simple, 10-minute 'bed bug check' routine on the first of every month: run a flashlight along mattress seams, glance at interceptor cups, and check the baseboard behind your headboard. If you find nothing, you are done for the month. This structured, finite check signals that the problem is managed.
When to Call for a Follow-Up
Most professional providers offer a follow-up inspection 2-4 weeks after the initial treatment. Take advantage of this. A second set of trained eyes can confirm that the treatment was successful and that your preparation did not leave a hidden pocket of bugs. If your provider does not offer a free follow-up, schedule a paid inspection at the six-week mark. The cost of a single inspection is far less than the cost of a second full treatment.
Frequently Asked Questions
How do I keep from spreading bed bugs to other rooms?
Stop moving items between rooms. Treat the affected room as the containment zone: keep the door closed, place a towel at the bottom gap, and change clothes before leaving. Put all laundry directly into sealed bags and transport them straight to the washing machine. Vacuum the room last, then dispose of the vacuum bag outside immediately. Before you enter another room, inspect your clothing and shoes for any visible bugs or eggs.
Can bed bugs travel on clothing and how do I prevent it?
Yes, bed bugs are hitchhikers and will cling to clothing, bags, and linens. To prevent this, never toss infested clothing into a shared hamper. Seal all fabrics in plastic bags before moving them to the laundry. Wash on the hottest cycle and dry on high heat for at least 30 minutes. For items that cannot be washed, like shoes or jackets, place them in a sealed bag and leave them in a hot car or freezer according to specific temperature guidelines.
How do I safely move items out of an infested room?
Only move items you absolutely need. For everything else, leave it in the contained room until after treatment. For essential items, inspect each piece under bright light, wipe down non-porous surfaces, and seal them in new plastic bags or bins before they leave the room. Never place items on upholstered furniture or beds in other rooms. This prevents a residual population from establishing elsewhere in your home.
What should I do if I suspect bed bugs in my apartment?
Act immediately and notify your landlord or property manager in writing, as they have a legal responsibility to address infestations in most Canadian jurisdictions. Do not move furniture to the hallway or shared spaces, as this spreads the problem to neighbors. Begin containment steps like vacuuming and isolating your bed. Document the signs of bed bug infestation with photos and dates. This record is important if you need to escalate the issue.